
Clothing · Published
7 things to consider when photographing T-shirts
A practical planning checklist for T-shirt product photos: fabric prep, shape, colorways, ghost mannequin versus flat lay, and a brief a studio can shoot from.
By Sepideh Maleki, Photographer and studio owner
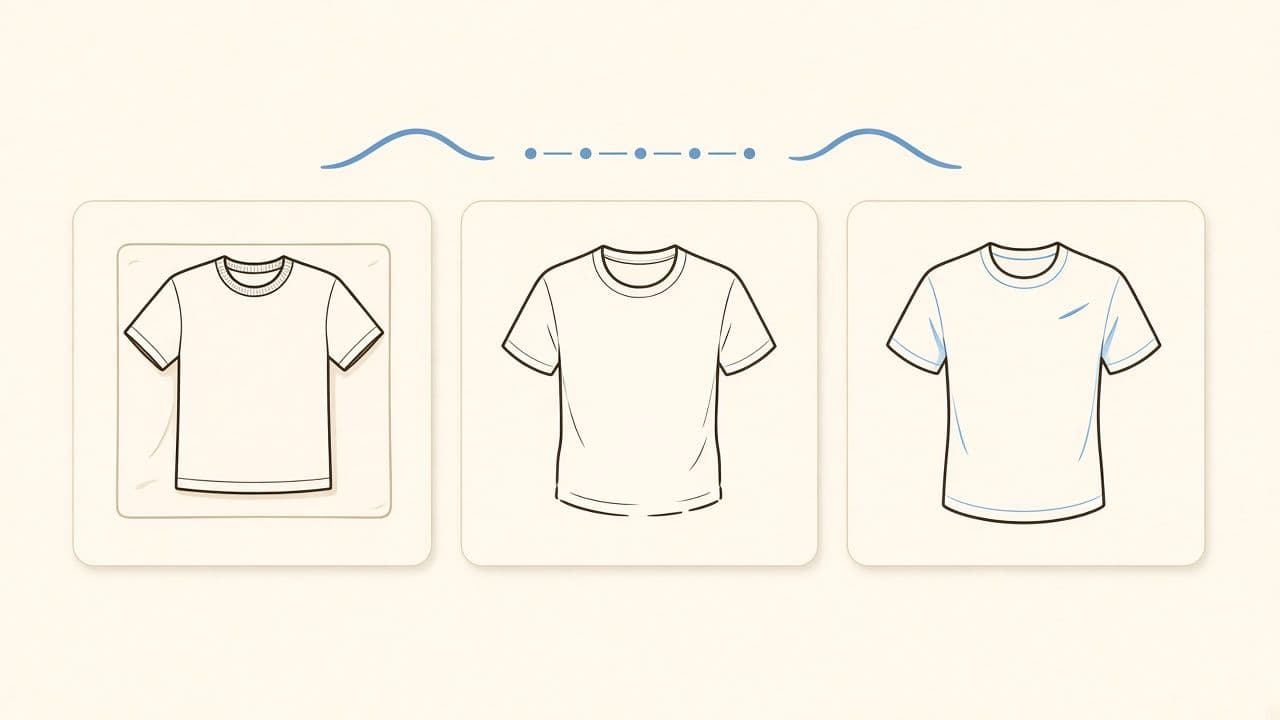
T-shirt photography looks simple until a crease, uneven hem, or mismatched colorway forces a retake. The useful work happens before the camera: decide how the shirt should sit, which views you need, and how the set should stay consistent across sizes and colors.
This guide is for merchants preparing apparel catalogs. It pairs with Coconut’s clothing photography service and focuses on planning, not on promising sales results or a single “best” method for every brand.
1. Decide the presentation method first
Flat lay, ghost mannequin, and on-body each solve a different problem. Flat lay is fast for prints and color comparisons. Ghost mannequin shows shape without a model. On-body shows fit and drape. Pick one primary method for the collection so hem lines, sleeve angles, and crop stay comparable.
2. Prep the fabric before it leaves your warehouse
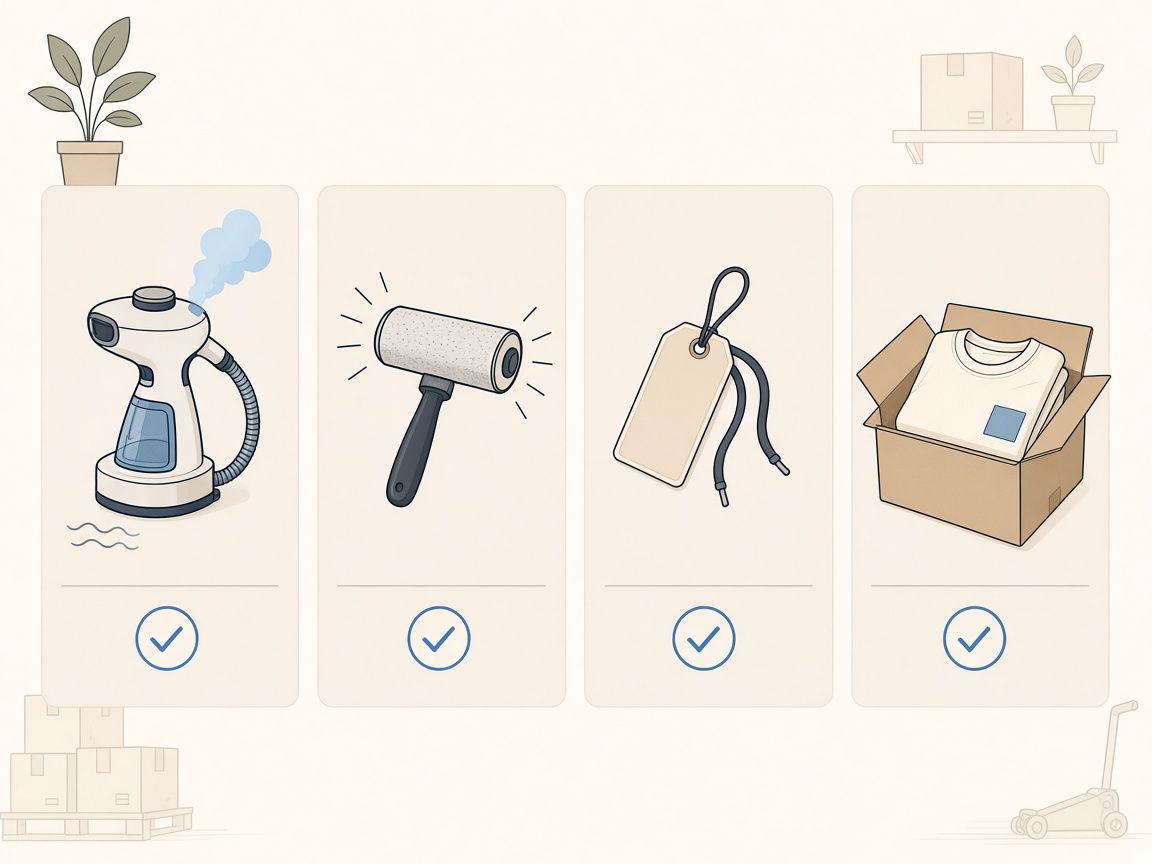
Steam or carefully press shirts so deep creases are not baked into the capture. Remove loose threads, stickers, and size stickers that should not appear. If a shirt ships folded for weeks, note that it may need studio steaming time in the brief.
- Clean front prints and check for ink cracks or peel
- Confirm left/right sleeve orientation for graphics
- Bag stray lint and packing dust before sealing the box
3. Lock shape rules for hems, sleeves, and shoulders
Write down how wide the body should sit, whether sleeves are tucked or extended, and where the hem lands in the frame. Those rules matter more than a single “hero” shot. Without them, medium and large sizes look like different products.
4. Plan colorways as a set, not as one-offs
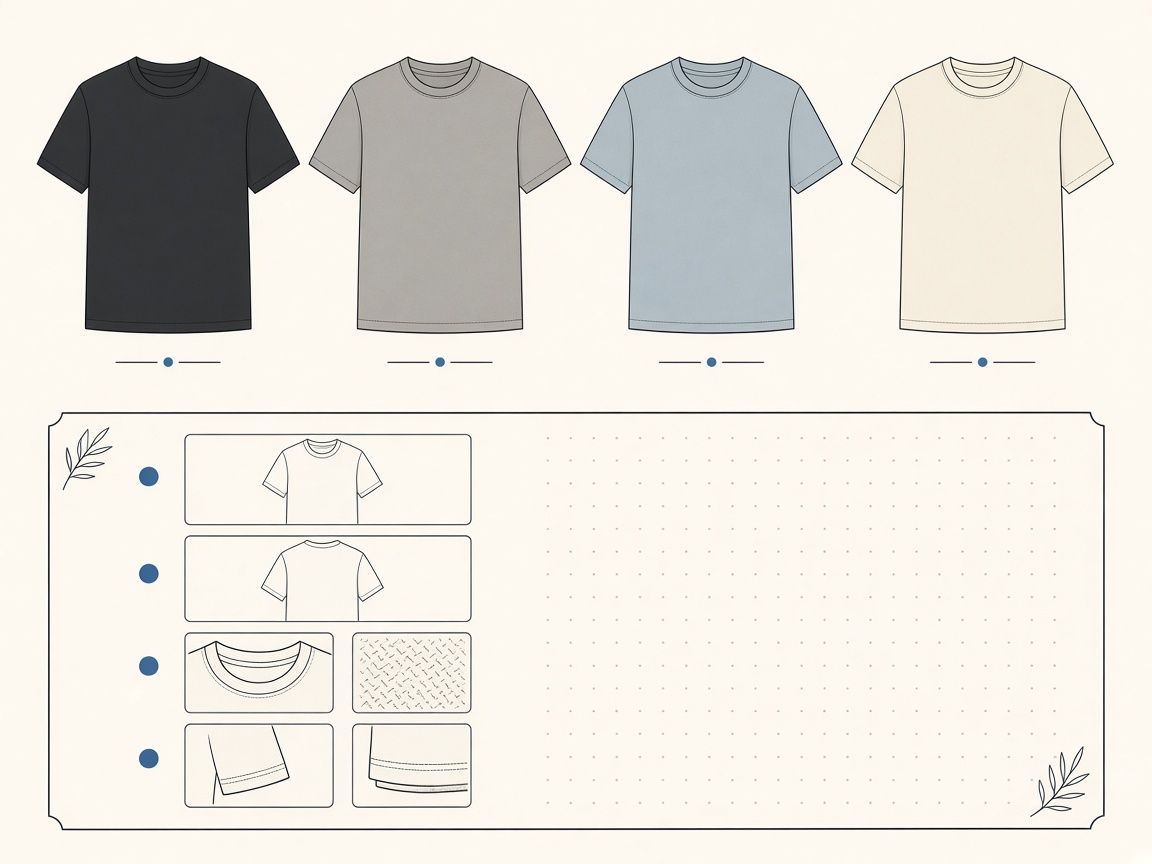
List every colorway and which views each one needs. Decide whether every color gets a front, back, and detail, or whether some colors share secondary views. Label each SKU so the studio can match the shirt to your sheet without guessing.
5. Treat prints and graphics as their own view
If the print is the product story, add a dedicated detail frame. Note print placement, wrap-around art, and whether tags or neck labels must stay visible. Reflective inks and dark-on-dark prints need different lighting attention than a plain jersey tee.
6. Agree crops and channel uses before the session
Product pages, marketplaces, and ads often need different crops. Say which frames are square, portrait, or full-garment, and whether the background is white, light neutral, or transparent. Final formats belong in the brief so delivery does not become a second project.
7. Write a short brief the studio can shoot from
A useful T-shirt brief usually includes:
- Style, SKU, size, and colorway list
- Primary presentation method and required views
- Shape rules for hem, sleeve, and shoulder
- Print or label notes
- Crop targets and background treatment
- Reference images that show framing—not claims to copy
If you already have that package, you can start a project with Coconut. Send the shirt list, views, references, and timing. We will review the request and follow up with questions needed for an estimate.
For broader apparel catalog work beyond T-shirts, see clothing photography. Related catalog planning also overlaps with general product photography when you are building a mixed hard-goods and apparel set.
Related services
Clothing photography
Apparel photography should make the collection easy to scan while preserving the shape, material, construction, and color of each item.
Explore services
Related articles
Start a project
Ready to plan the image set?
Send the product list, required views, intended sales channels, references, and timing. We will review the request and follow up with any questions needed to prepare an estimate.