
Clothing · Published
12 helpful tips for clothing photography
Practical tips for planning clothing product photos: garment prep, presentation method, colorways, fit notes, crops, and a brief a studio can shoot from.
By Sepideh Maleki, Photographer and studio owner
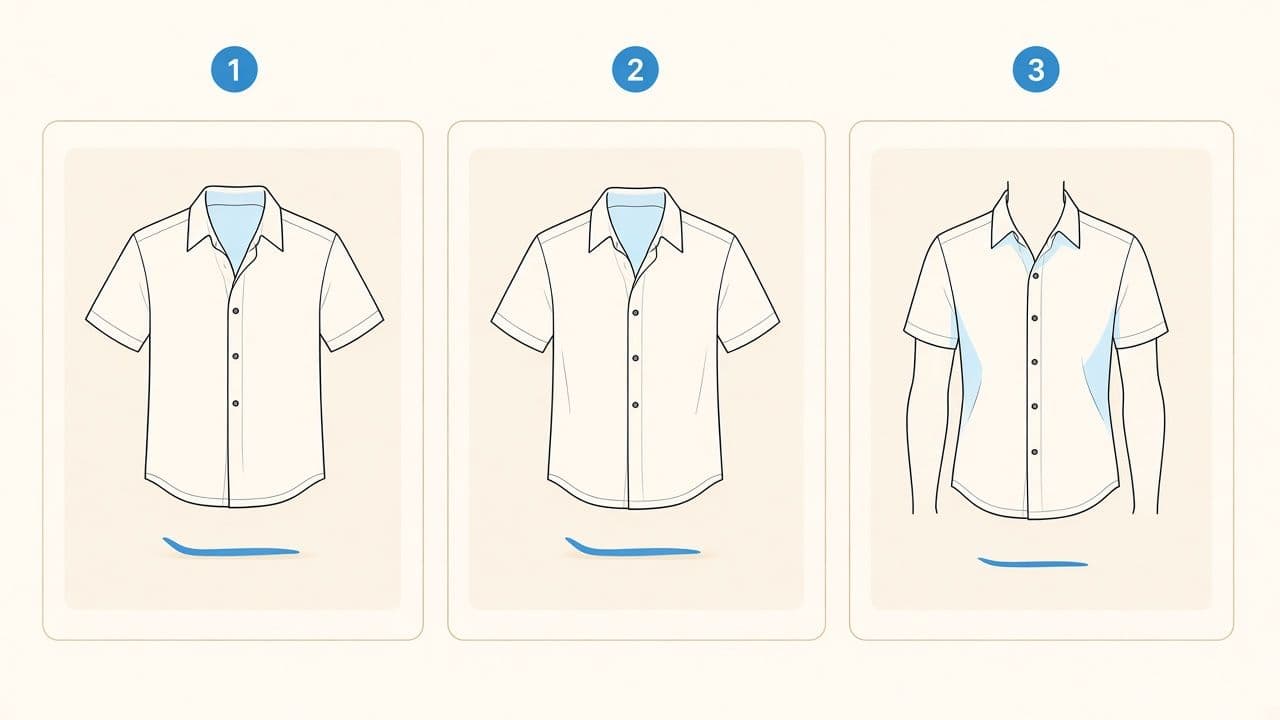
Clothing photography fails more often in planning than on set. Creases, mismatched colorways, unclear fit notes, and crop rules that arrive after delivery all create reshoots. The tips below are for merchants building an apparel catalog—not a promise that one method fits every brand.
Use this list when you prepare samples and a brief for Coconut’s clothing photography service. For T-shirt-specific shape and print notes, see 7 things to consider when photographing T-shirts.
1. Decide what the catalog must prove
Before lights and backgrounds, write the job of the images: show construction, show print, show fit, or show color accuracy. A lookbook and a marketplace grid need different framing. Naming the job keeps the shot list honest.
2. Pick one primary presentation method
Flat lay, ghost mannequin, on-body, and hanger each communicate differently. Mixing methods inside one collection makes hems and shoulders hard to compare. Choose a primary method for the set, then add secondary views only where they solve a specific product question.
3. Steam and inspect garments before they ship
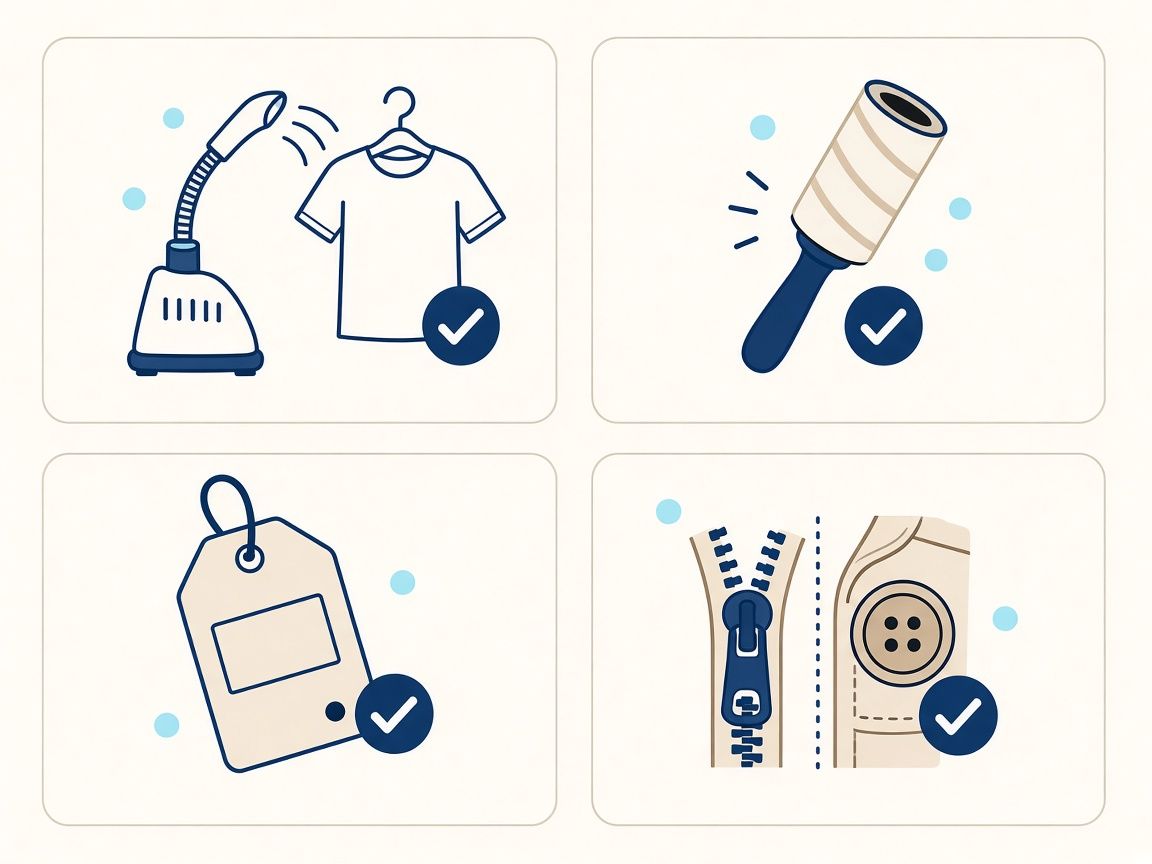
Deep warehouse folds travel with the sample. Steam or carefully press when fabric allows, remove lint and packing dust, and note stains or loose threads. Tell the studio which pieces arrive folded so steaming time is planned, not improvised.
- Check zippers, buttons, and snaps before packing
- Remove retail stickers that should not appear in frame
- Flag delicate fabrics that cannot take hard steam
4. Label every SKU clearly
Style name, size, colorway, and SKU should travel with the garment. Hang tags or sealed bag labels beat sticky notes that fall off in transit. The studio should match each piece to your sheet without guessing which navy is which.
5. Plan colorways as a set
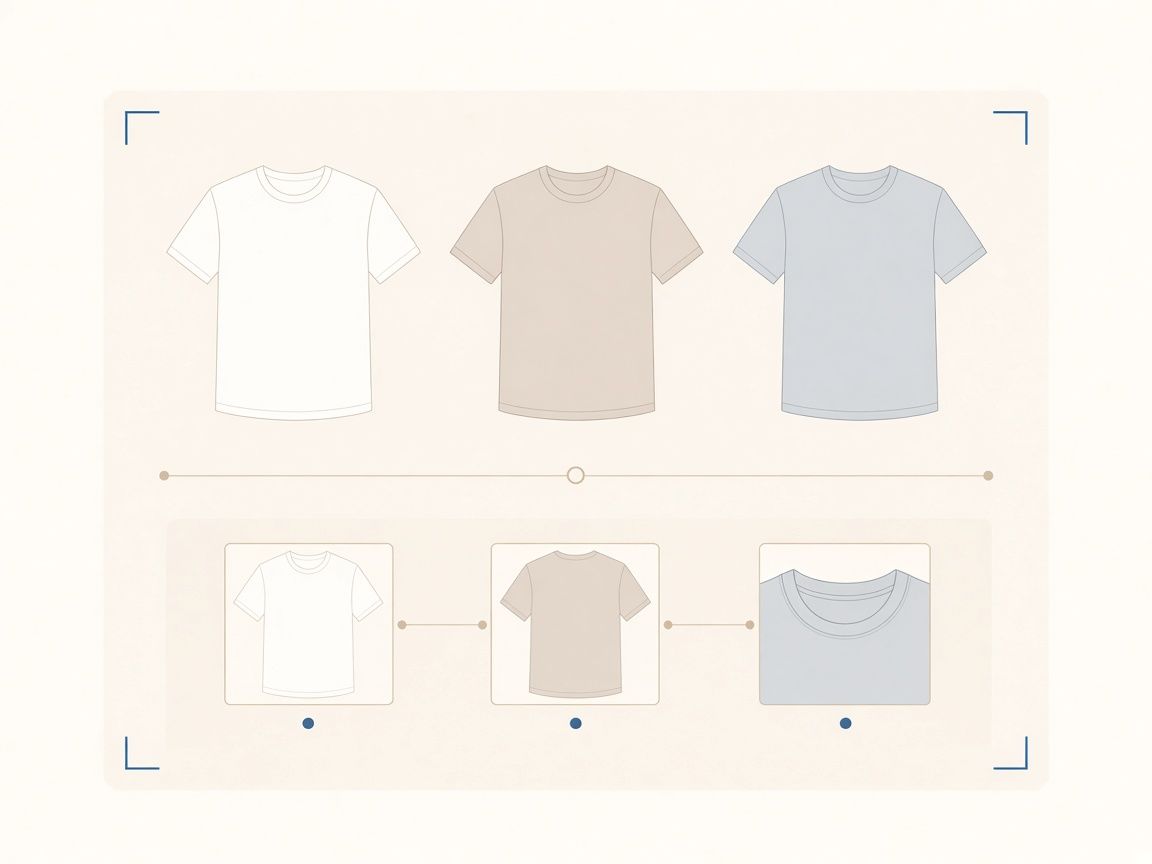
List every color and which views each one needs. Decide whether every color gets front, back, and detail, or whether some colors share secondary frames. Consistency across colorways matters more than one perfect hero.
6. Write shape rules for hems, sleeves, and shoulders
Note how wide the body should sit, whether sleeves tuck or extend, and where the hem lands in frame. Without those rules, small and large sizes look like different products even when the styling is careful.
7. Capture fit with honest notes, not slogans
If on-body is part of the set, record model height, size worn, and intended fit (slim, regular, oversized). That information belongs in the brief so buyers and your team can read the photos the same way later.
8. Give prints and details their own frames
Embroidery, hardware, linings, and wrap-around prints often need a dedicated crop. Call those views out early so lighting and retouching time are reserved for them instead of squeezed into leftover minutes.
9. Agree backgrounds and crops before the session
Marketplace white, soft neutral, and transparent deliveries are different jobs. Say which frames are square, portrait, or full-garment, and which channels they serve. Late crop requests turn delivery into a second project.
10. Send reference frames that show framing, not outcomes
References should answer angle, crop, and presentation—not sales claims or “make it look like our competitor’s best listing.” A few clear examples beat a mood board that fights itself.
11. Build a short shoot-day checklist
A useful day-of list usually includes garment count, required views per style, shape rules, detail callouts, background treatment, and file naming. Keep it short enough that the studio can check items off between setups.
- Style / SKU / size / colorway list
- Primary presentation method and required views
- Shape and fit notes
- Detail and print callouts
- Crop targets and background treatment
- Reference images for framing only
12. Leave room for proof and revision rounds
Decide who reviews proofs, what “done” means for color and crop, and how many revision rounds the brief expects. Clear review ownership prevents last-minute surprises when files move into your storefront or marketplace tools.
If you already have a garment list, views, and references, you can start a project with Coconut. Send the brief and timing; we will review the request and follow up with questions needed for an estimate.
For mixed catalogs that include hard goods alongside apparel, also see product photography. Marketplace-specific main and secondary image planning is covered in Amazon image requirements.
Related services
Clothing photography
Apparel photography should make the collection easy to scan while preserving the shape, material, construction, and color of each item.
Explore services
Related articles
Start a project
Ready to plan the image set?
Send the product list, required views, intended sales channels, references, and timing. We will review the request and follow up with any questions needed to prepare an estimate.